
Why Charging Ports Fail in the First Place
A phone that won’t charge can feel like a major problem, but more often than not the issue is simple and local to the charging port. Most charging complaints are not caused by a dead battery or a deep electrical fault; they stem from debris, moisture, or wear inside the port itself.
Dust, lint and pocket debris build up over months of daily use. Repair technicians estimate that roughly 70–80% of charging problems are caused by blocked ports. Small particles can prevent a cable from seating properly or interrupt the electrical contact between the cable and the port pins.
Water exposure is another common cause. Even a few drops of moisture, if not dried quickly and correctly, can start corrosion on the tiny metal contacts inside the port within 24 to 48 hours. Corrosion can inhibit current flow and lead to intermittent or complete charging failure.
Normal wear and tear also plays a role. Each time you plug and unplug a cable, the small metal contacts inside the port flex slightly. Most USB-C ports are rated for roughly 10,000 insertion cycles; over time the connection can loosen. Bent pins, loose connectors and cracked solder joints typically appear as the cumulative result of repeated use rather than from a single dramatic event.
Ruling Out the Easy Stuff First
Before assuming the port is permanently damaged, spend a few minutes checking the obvious causes. Try a different cable first: a frayed or damaged charging cable is one of the most common reasons a phone seems unable to charge. Cheap or counterfeit cables tend to fail sooner than branded, well-made options.
Also try a different wall adapter. Chargers and wall adapters with very low output (under 5 watts actual output) can make a phone behave as if the port is faulty — the device will charge very slowly or not at all.
If changing the cable and adapter doesn’t help, restart the phone. Occasionally a software glitch can interfere with charging behavior and a reboot will restore normal function. These quick checks can save you time and money by ruling out the most common, simple faults.
The DIY Route: Cleaning and Safe Checks
If the basic swaps don’t resolve the issue, cleaning the port is a reasonable next step and low risk when done carefully. Power the phone off first. Use short bursts of compressed air to blow loose debris out of the port, holding the device at a downward angle so dislodged particles fall free instead of moving deeper in.
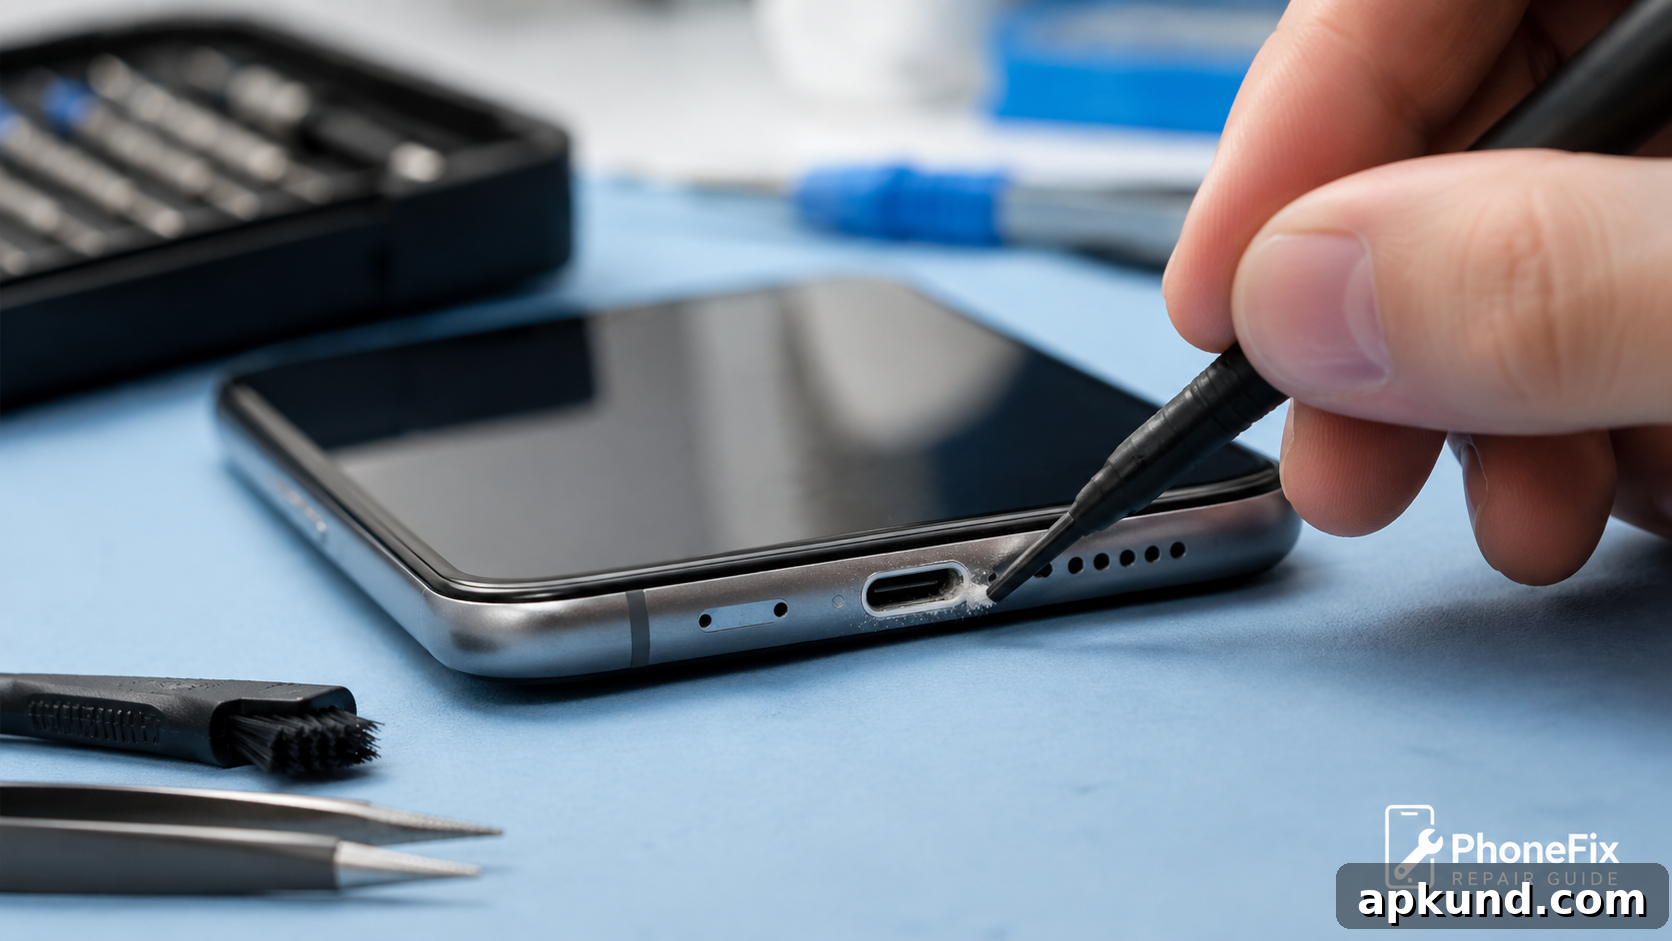
For stubborn buildup, a wooden toothpick or plastic pry tool is safer than metal since metal tools can bend or short the pins inside modern USB-C connectors, where contacts sit millimeters apart. A soft, dry toothbrush can help loosen grime around the edges of the port.
After cleaning, inspect the port with a flashlight. Look for bent pins, corrosion, or other visible damage before plugging anything back in. If the contacts look straight and clean, try charging again — in many cases this step alone resolves the problem because debris blockage accounts for the majority of suspected port failures.
When DIY Starts Getting Risky
If cleaning doesn’t work and you see physical damage, the risk increases. On most Android phones the charging port is soldered to the motherboard with multiple tiny solder points. Repairing or replacing the port yourself requires opening the phone, disconnecting the battery, and using a soldering iron within millimeters of delicate components.
Excessive heat during soldering can lift pads or damage traces on the circuit board, turning a cheap replacement part into an expensive motherboard repair. Water damage complicates repairs further because corrosion can spread beneath the surface to the board itself; cleaning the port alone won’t fix damage that has reached the underlying circuitry.
Cost and Time: DIY vs Professional
A basic cleaning kit is inexpensive — compressed air and a few plastic picks typically cost under $5 and the job takes only minutes if debris is the issue. A DIY port replacement kit may cost $10–$25 depending on the model, but it requires steady hands, soldering experience and often an hour or more for a first attempt.
Professional repair shops generally charge $40–$90 for a standard charging port replacement, and prices can exceed $100 for uncommon models or expedited service. The higher cost includes experienced technicians, proper equipment and usually a short warranty on the repair, which can be valuable if complications arise.
Shops with board-level repair capabilities can diagnose whether the problem is the port itself or a deeper motherboard issue within minutes — something that’s hard to determine without opening the device.
What’s Actually Worth It
If the problem is simply debris in the port, cleaning is clearly a DIY job: it’s cheap, quick and low risk. If you can see bent pins, visible corrosion or the port remains dead after a thorough cleaning, professional repair is often the safer and more cost-effective option because of the labor, tools and experience involved.
For people who repair phones regularly and want to develop skill with micro-soldering, doing the repair at home may make sense long-term. For most users with a single phone to fix, paying a reputable repair shop usually offers the best balance of cost, reliability and peace of mind. Regardless of the path you choose, cleaning the port should always be the first step — it solves the issue often enough that more invasive steps become unnecessary.